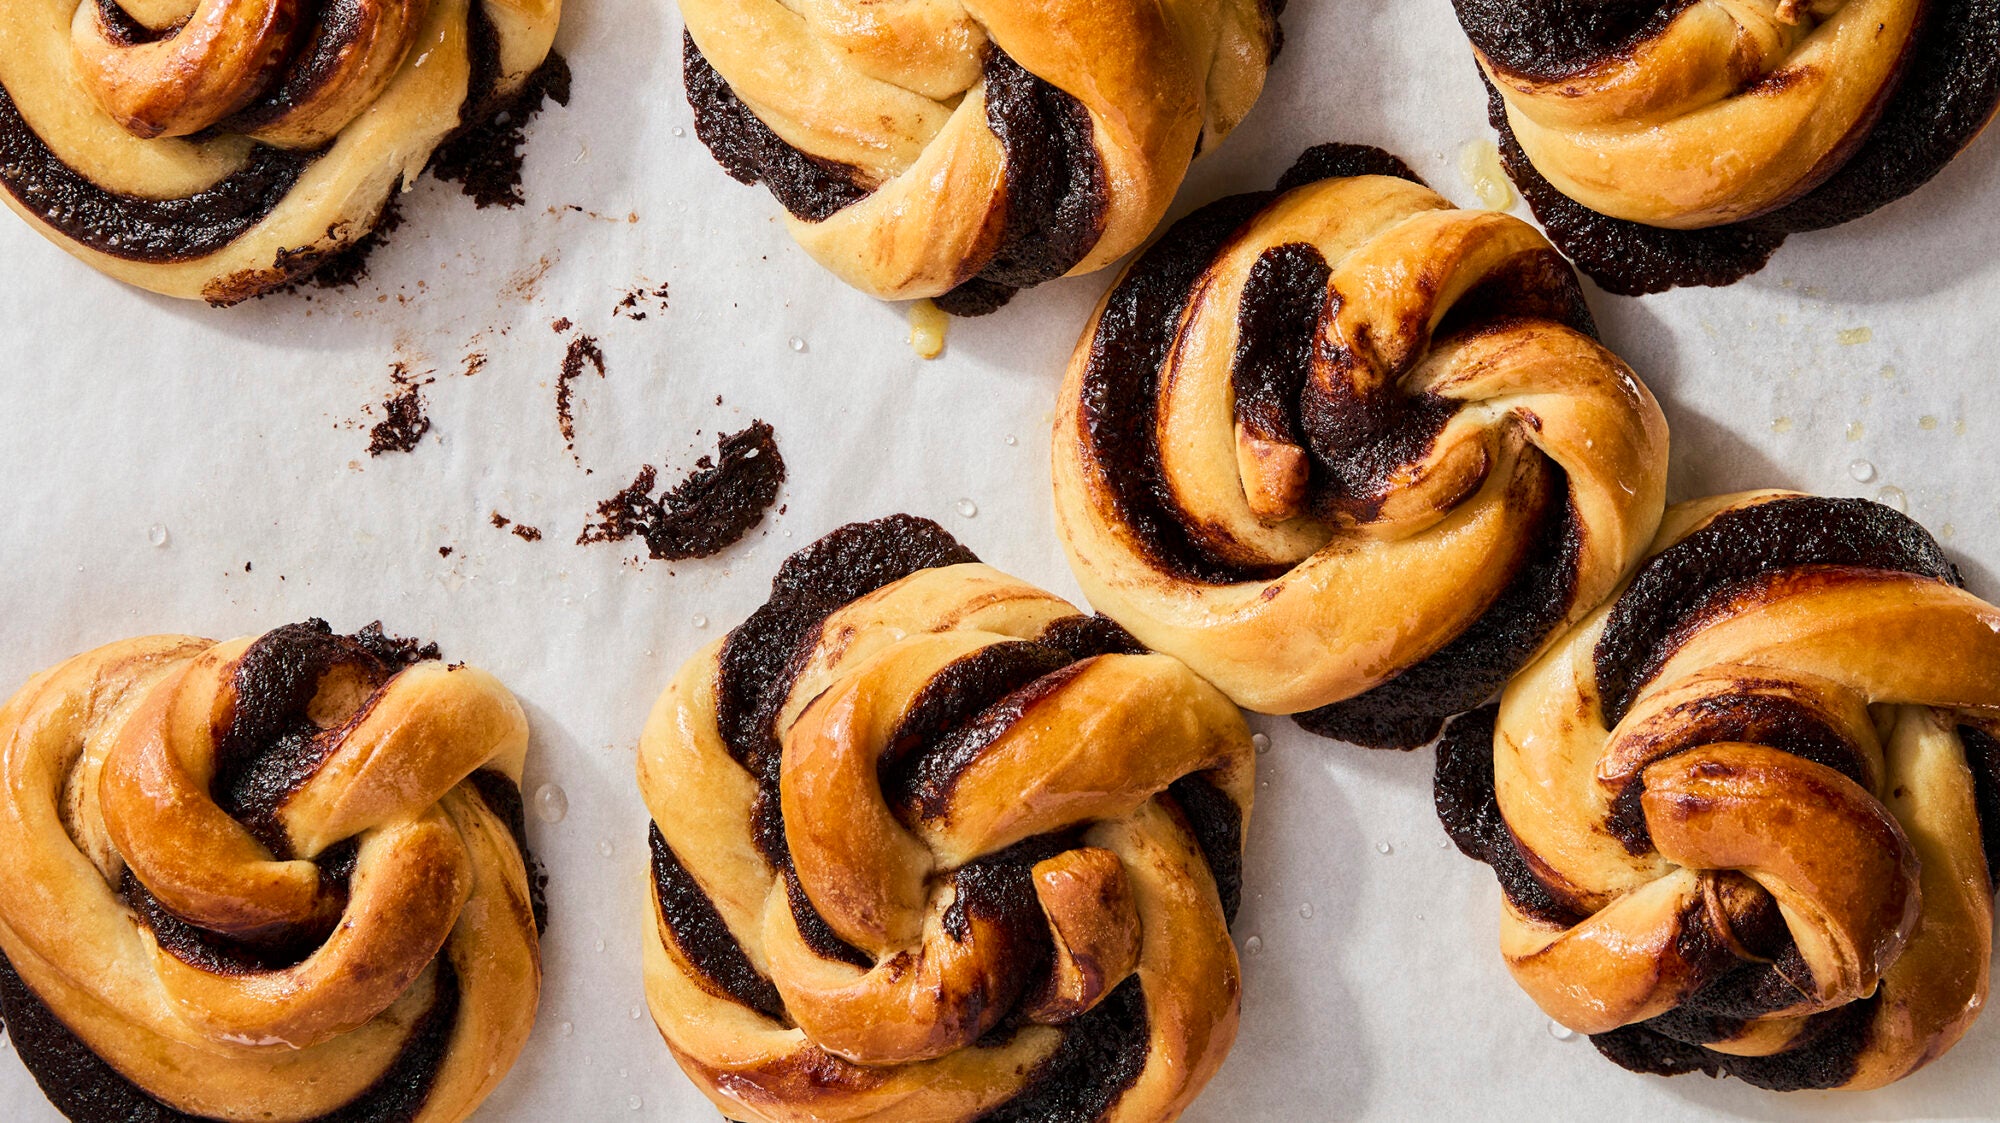
These hand-kneaded babka knots are your next weekend baking project
Chocolate babka has long been one of my favorite sweet, dessert-y breads, but for years, I was way too intimated to try baking it myself. The long mixing time in a stand mixer, the stickiness of the dough, and then all that braiding made babka seem like a project best left to the professionals. While I’m not here to discourage anyone from trying a complicated baking project, I would like to offer a simplified version: individual babka knots with a gooey, chocolaty filling that you can make by hand. In fact, you probably already have all the ingredients in your cupboard right now.
I like to think of this as a beginner’s babka dough. It has a simplified ingredient list consisting of just flour, sugar, salt, yeast, and butter. It’s not as rich as a true babka dough, which traditionally includes eggs, but the final bread bakes up tender and buttery—plus it’s filled with chocolate. The dough is also not as wet and sticky as a traditional babka dough, which means it can be made by hand, without the need for a fancy stand mixer. That said, it’s important to knead this dough really well so that the final knots turn out soft and pillowy. So turn on some music (or maybe an audiobook) and get to kneading. It will take about 10 minutes, but eventually the dough will turn smooth and supple—I always joke that you’ll know it’s ready when the dough becomes so soft and smooth that you actually want to keep kneading it after several minutes of contemplating giving up. Of course, if you’d rather skip the manual labor, you can absolutely toss the ingredients into a stand mixer and let the dough hook do the work.
Babka comes in all sorts of flavors, including cinnamon, poppyseed, and my personal favorite, chocolate. This filling is made from a combination of dark chocolate, cocoa powder, sugar, butter, cream, and a touch of cinnamon. While the filling comes together on the stove, it’s absolutely imperative that it’s left to cool before being spread over the dough. If the filling is still warm, it will be too runny to work with—and you’ll be in for a big, chocolaty mess.
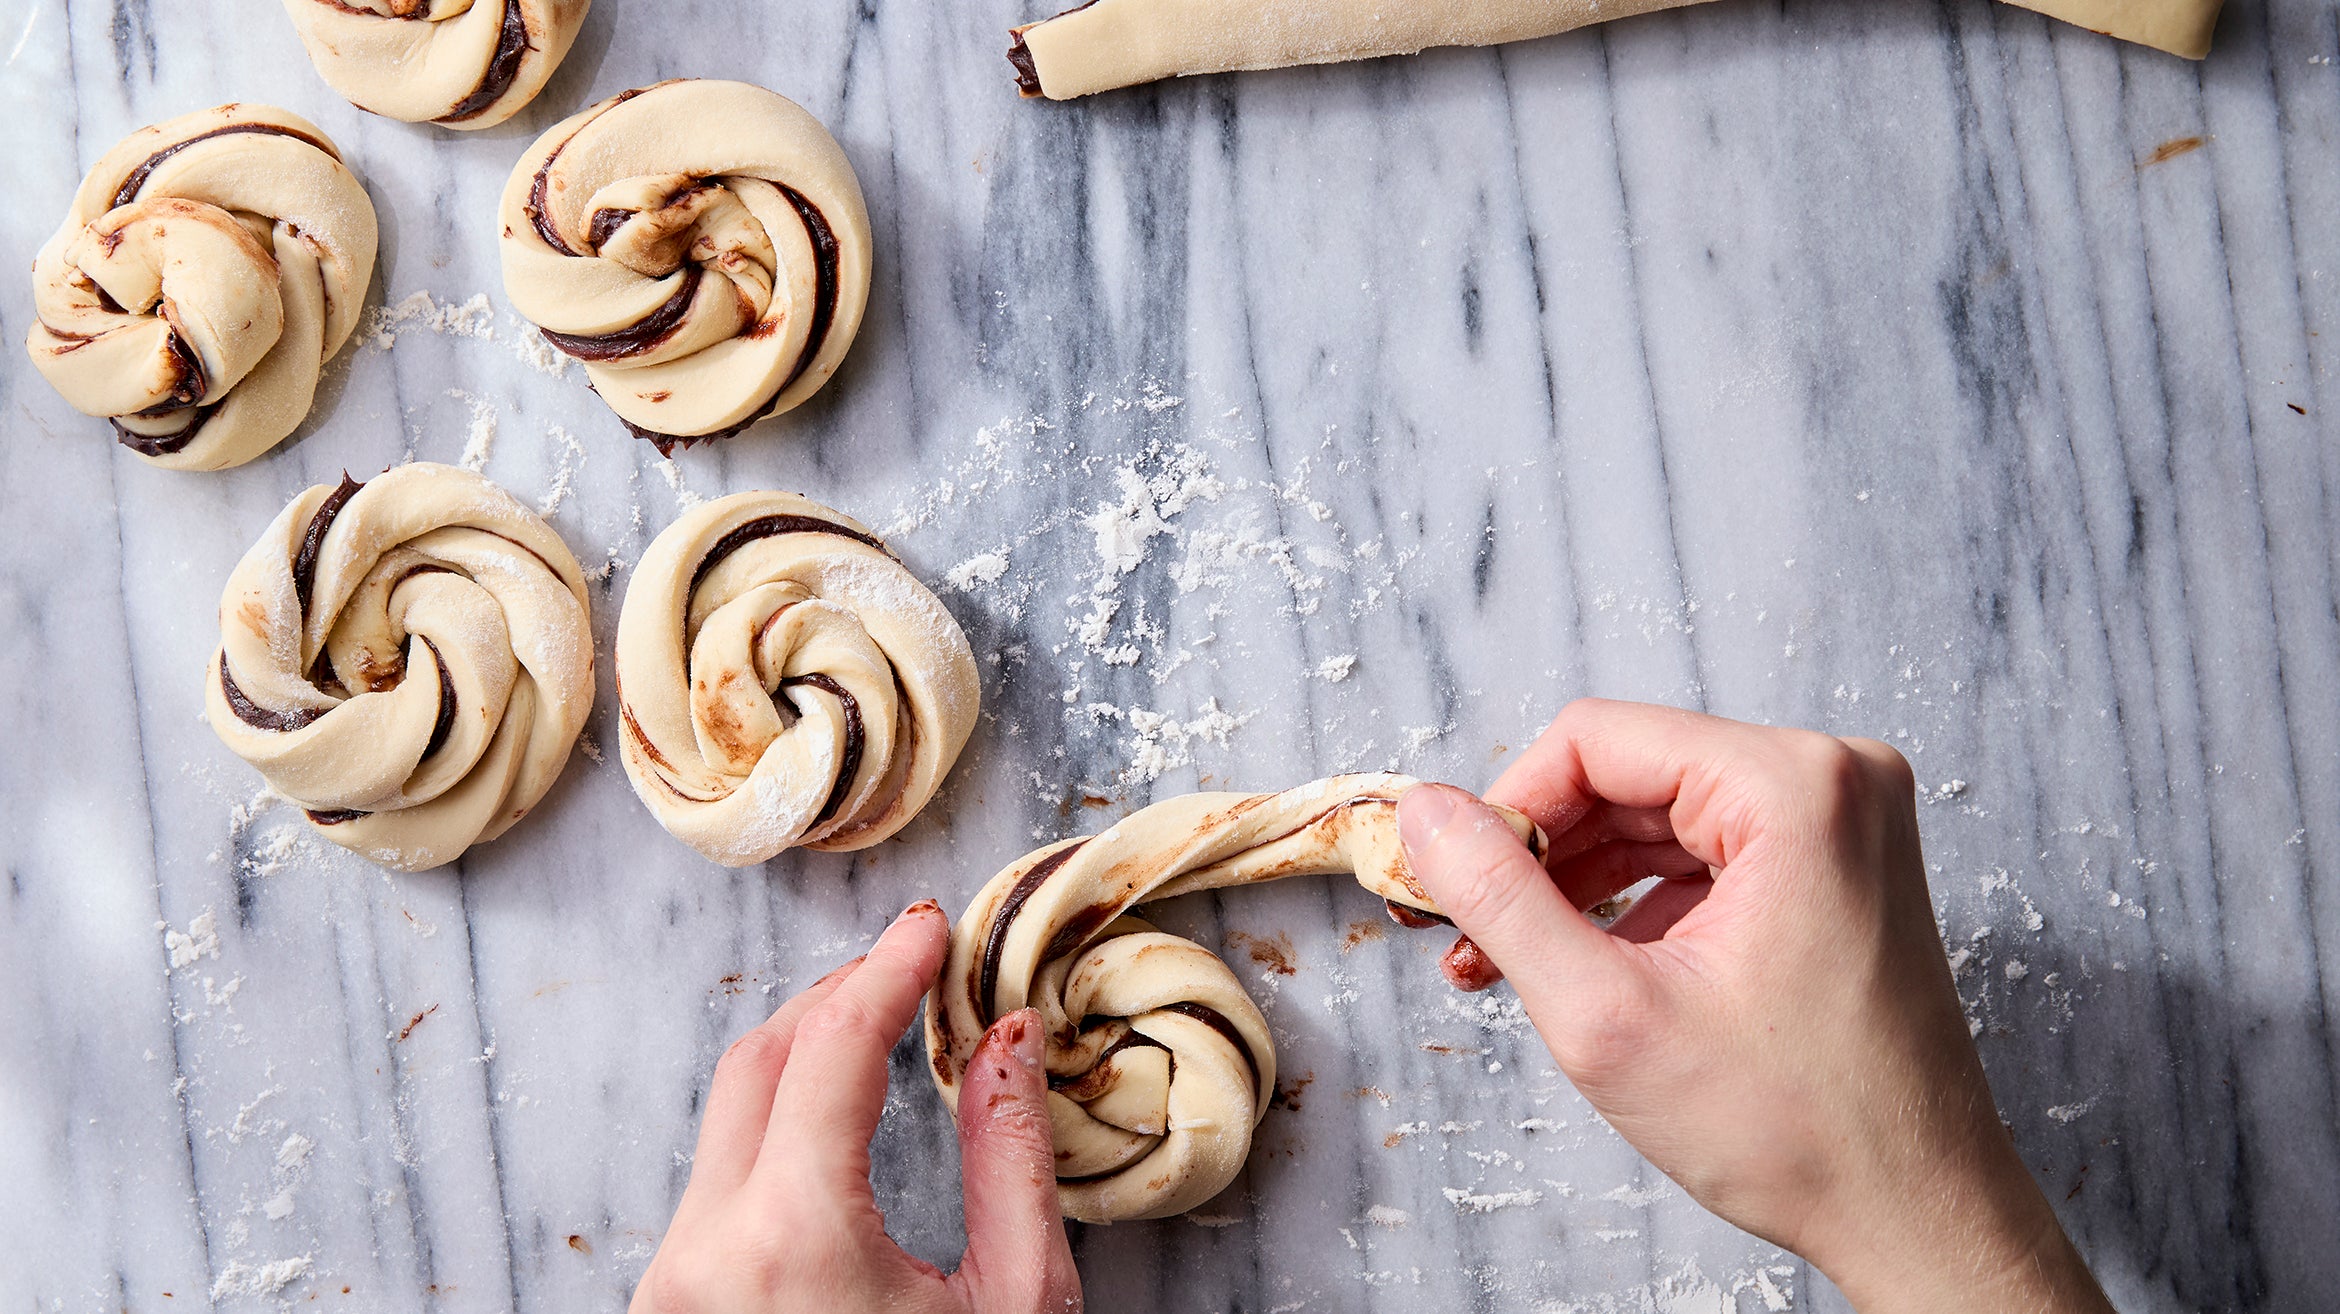
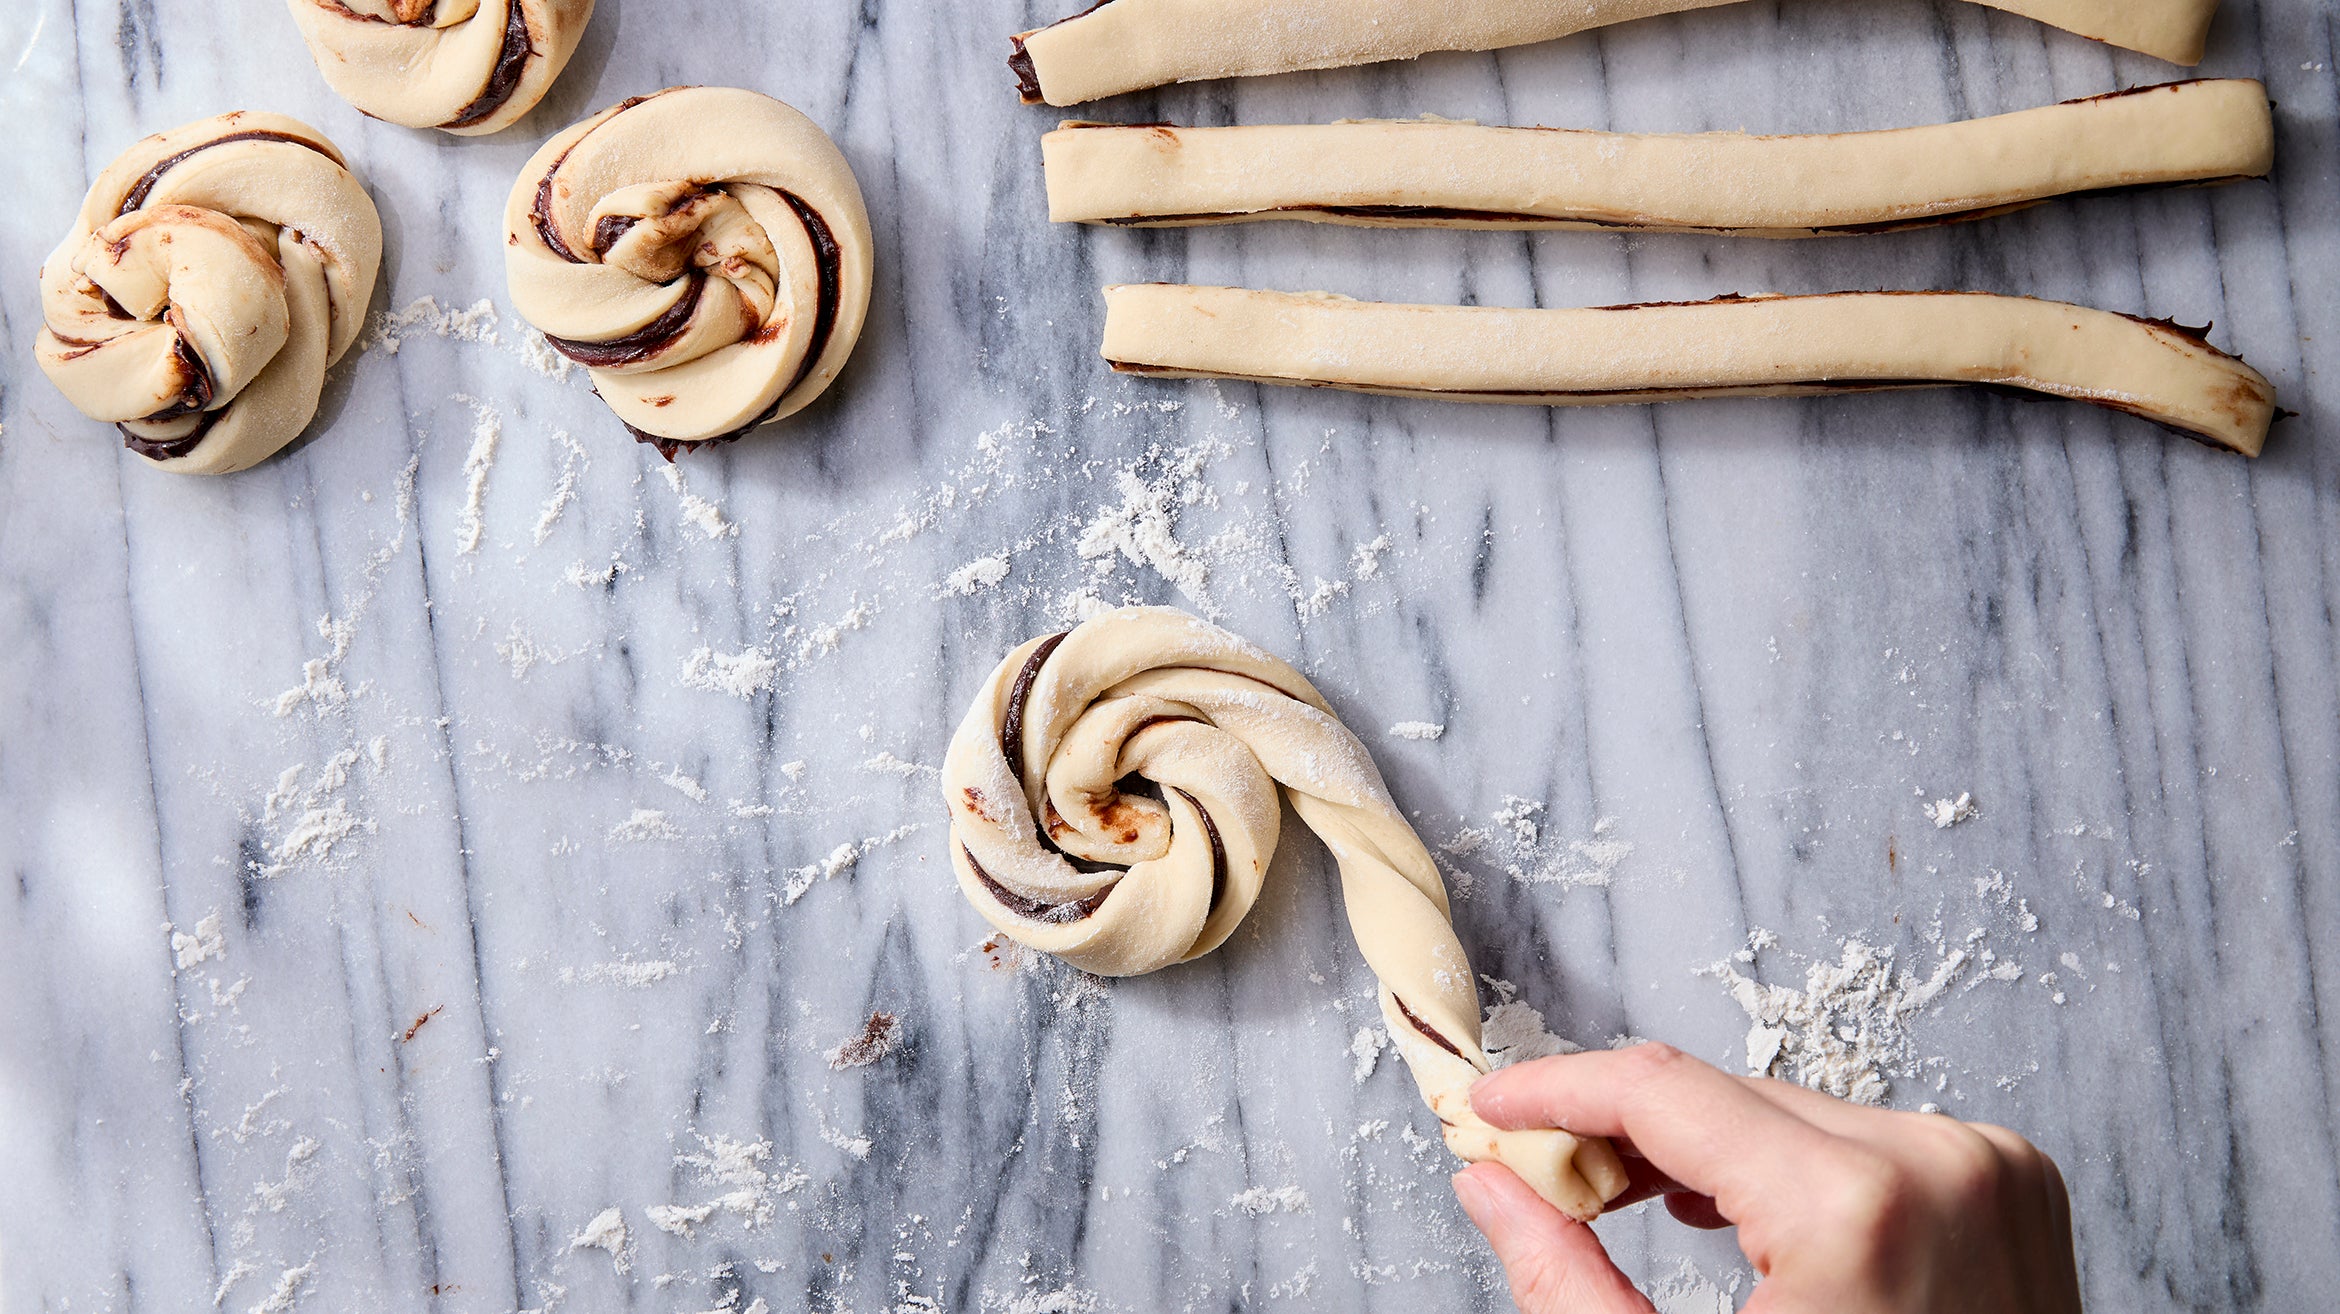
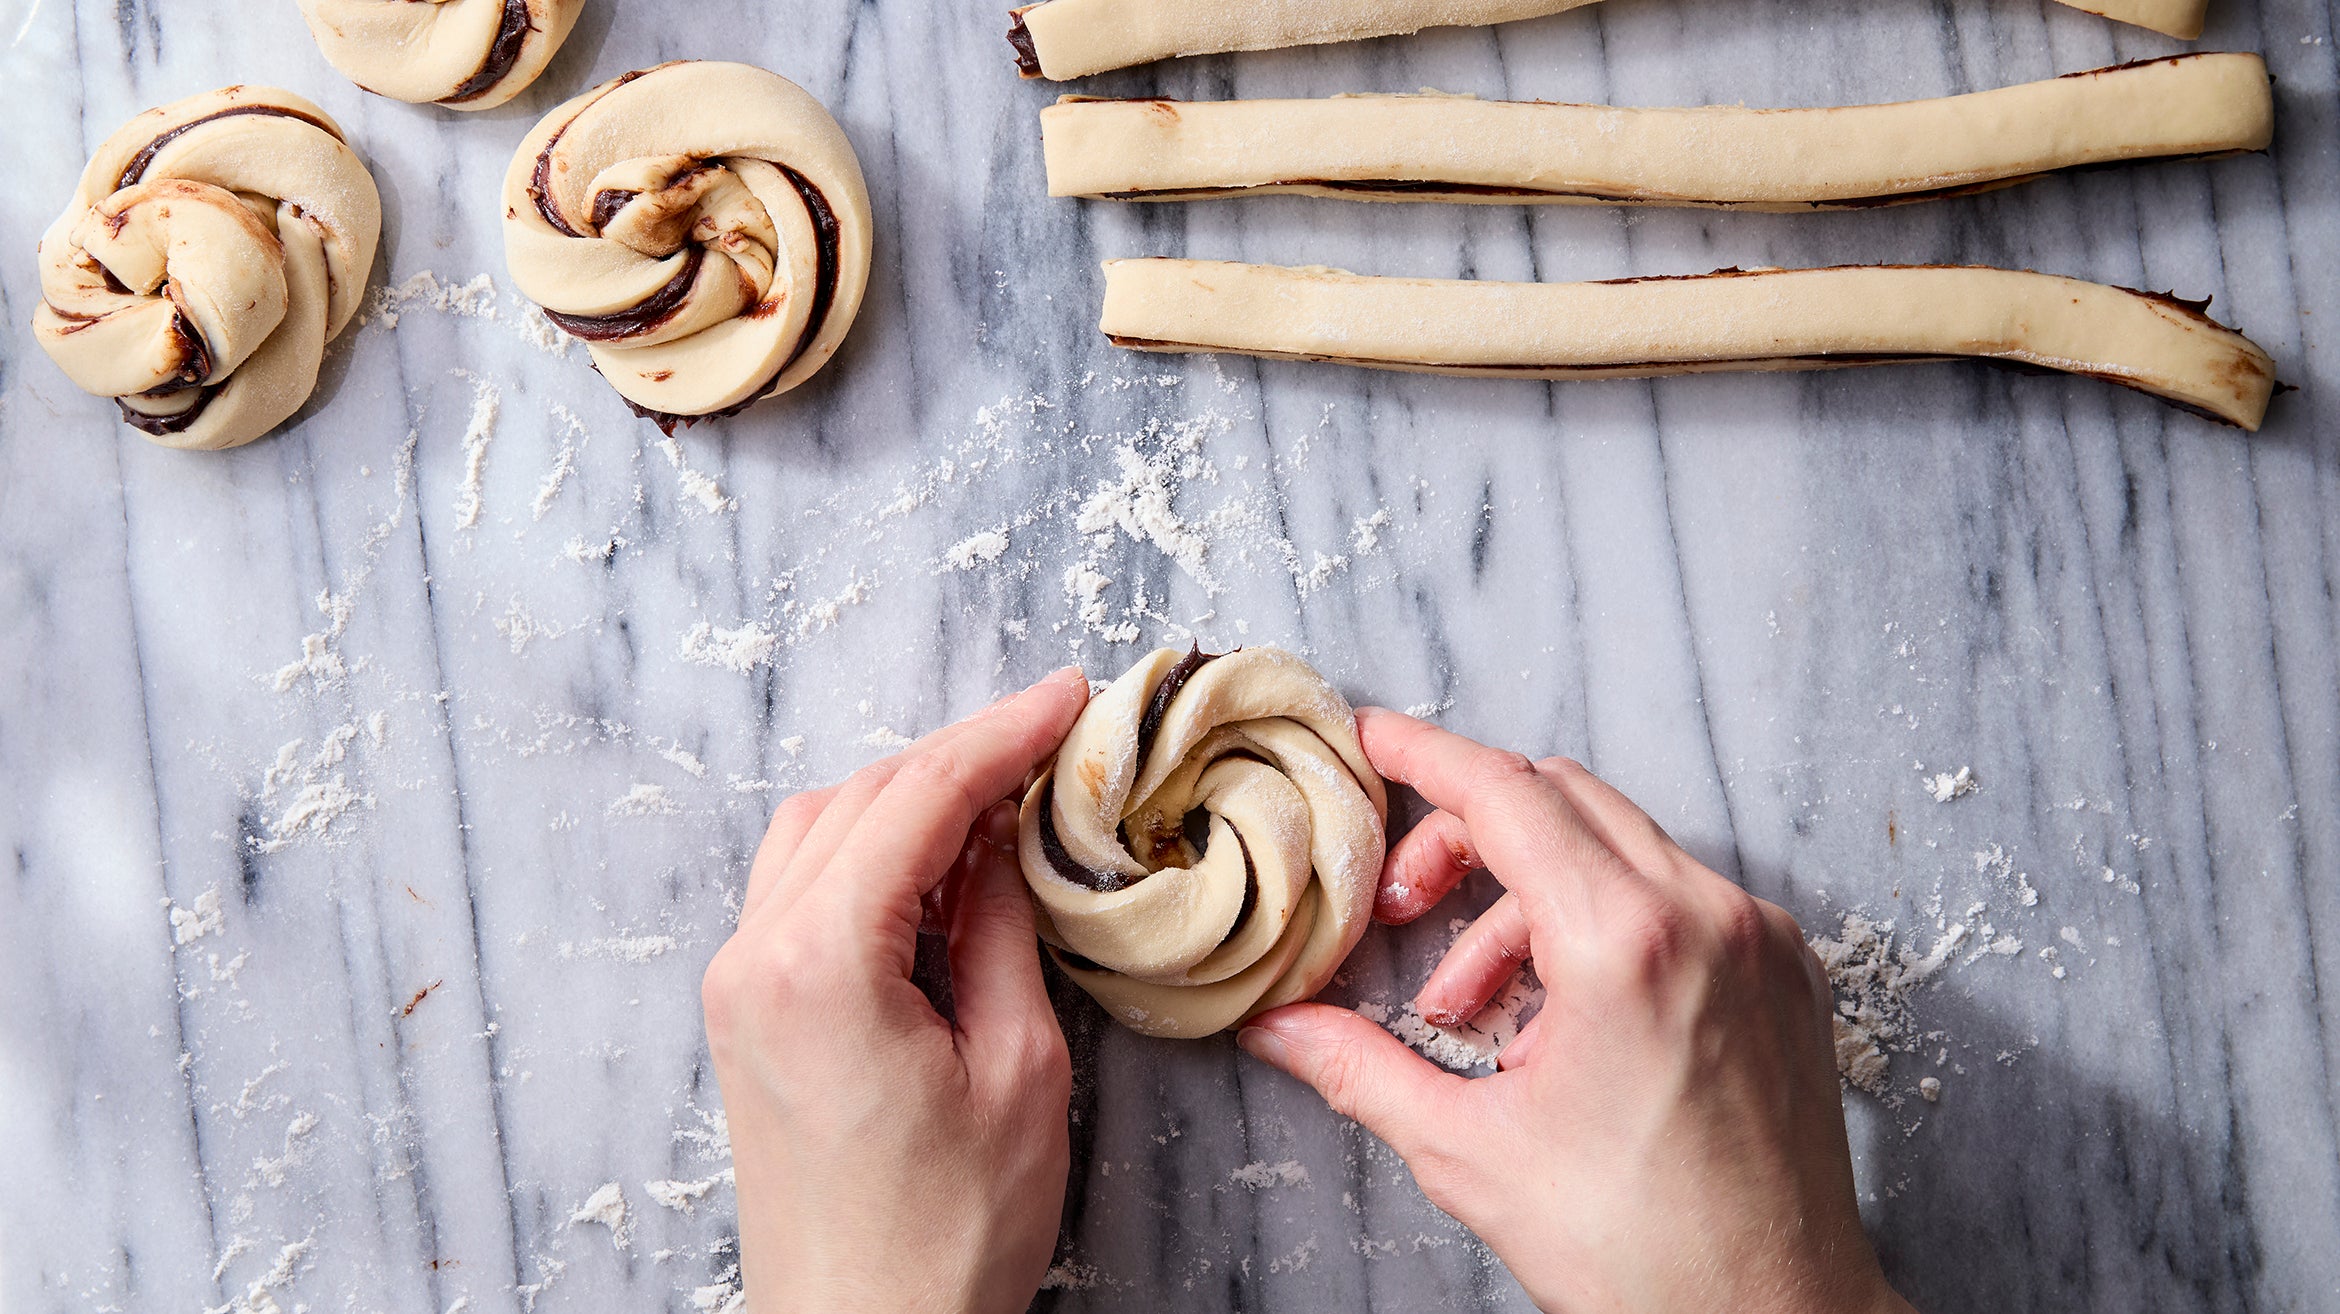
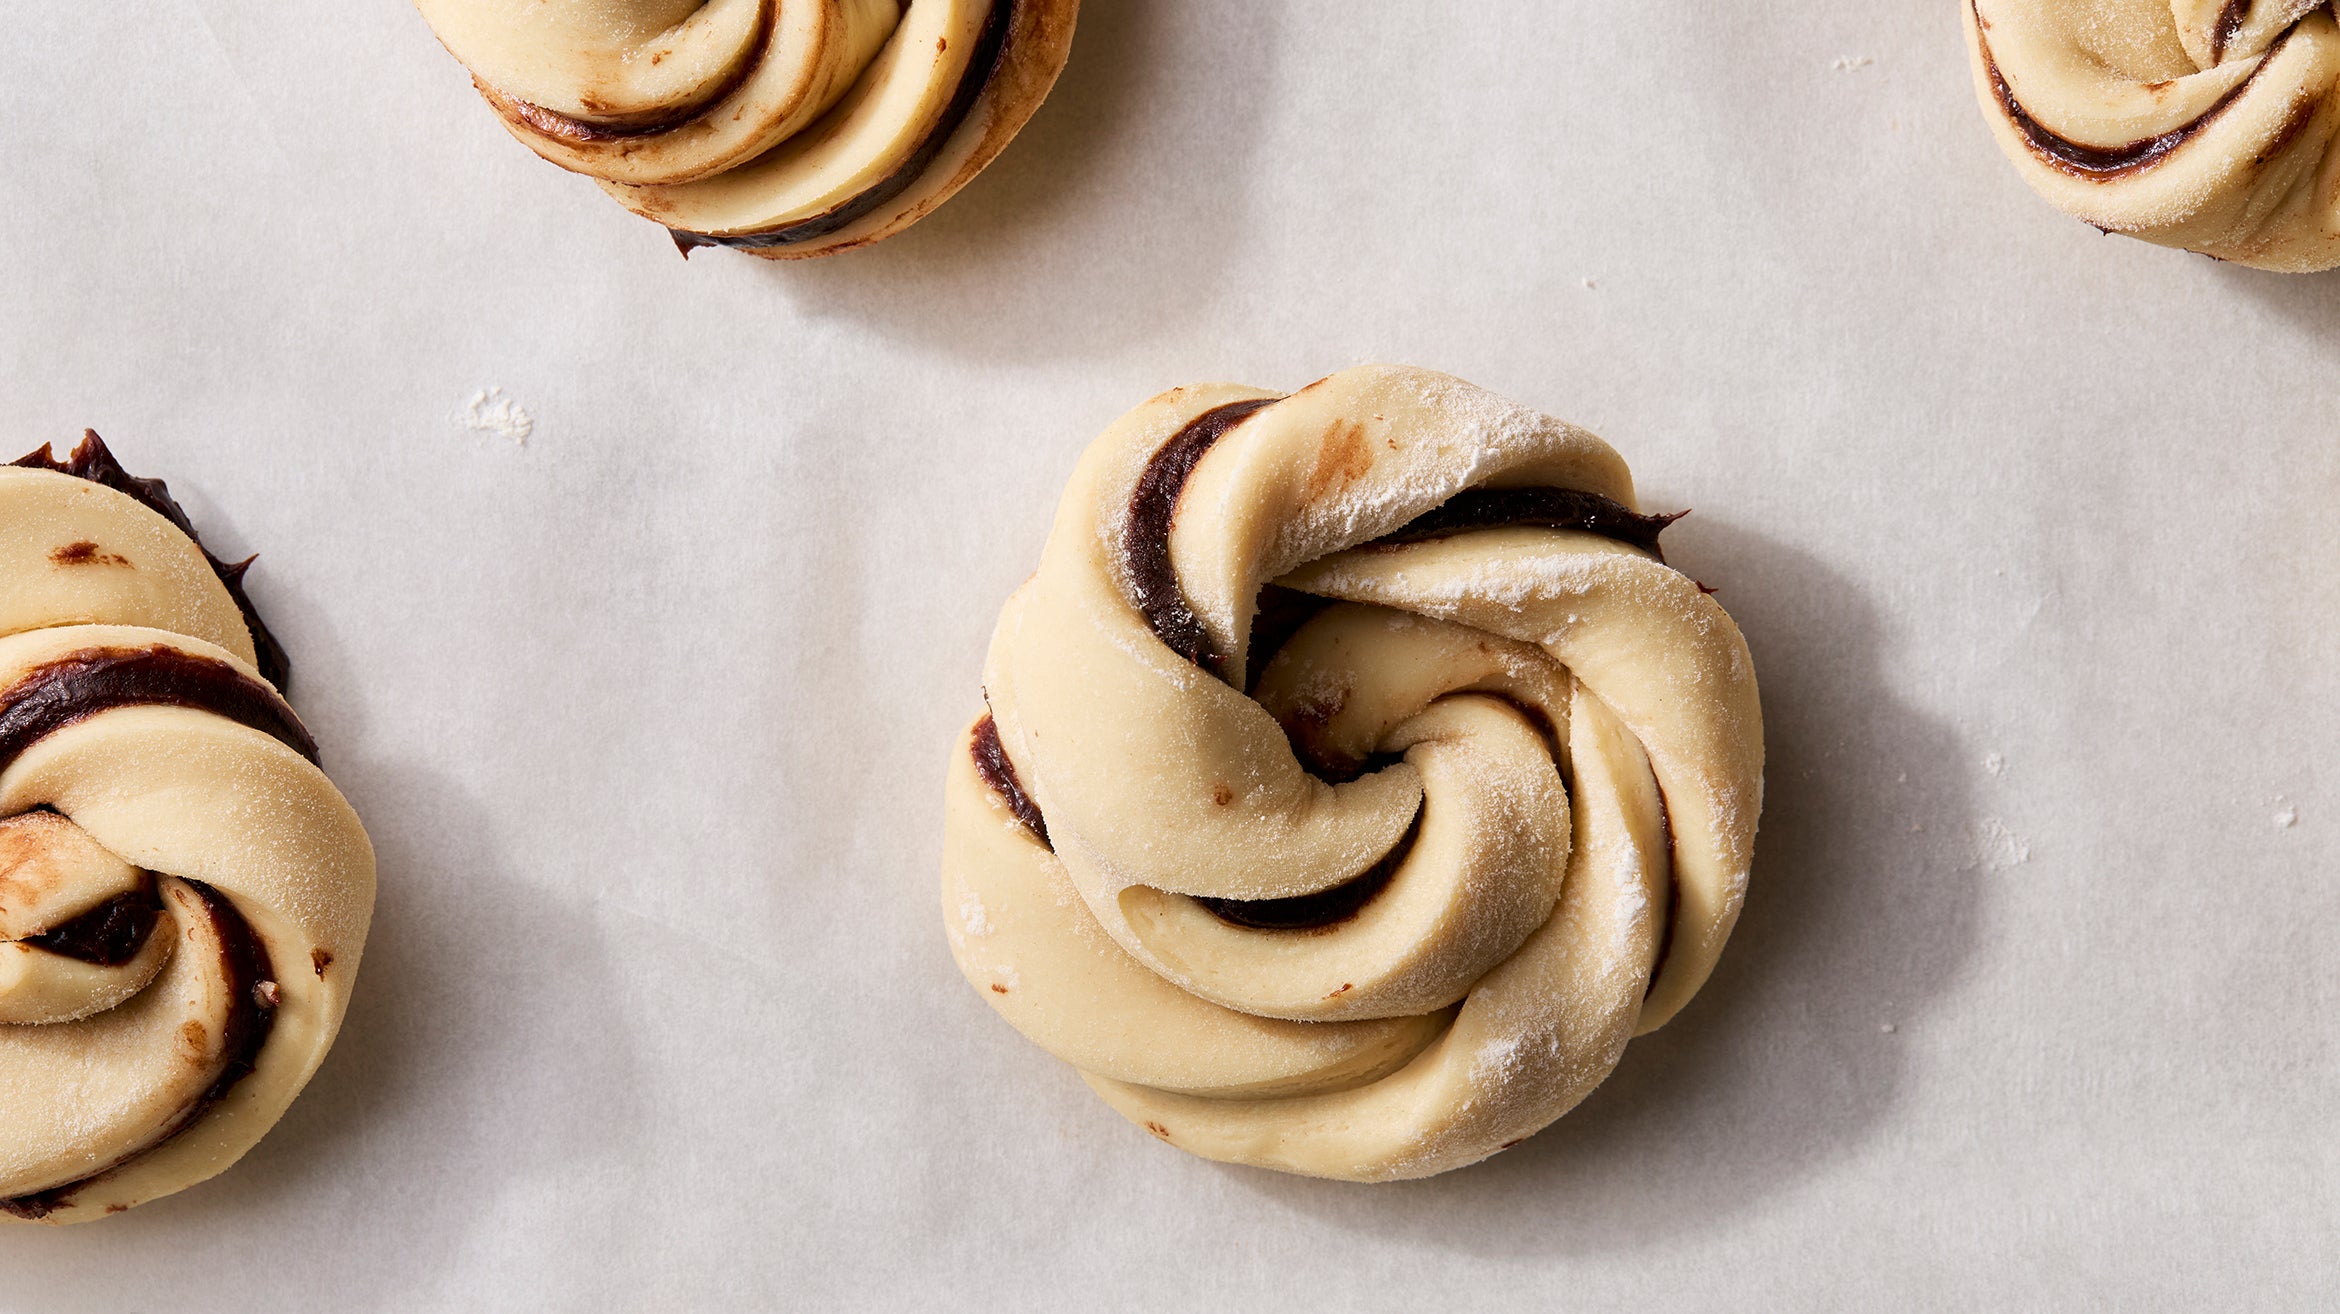
The knots might look ornate, but the shaping process is pretty straightforward. First roll the dough into a large rectangle and cut it into two equal pieces. Spread one piece of dough with the chocolate filling, then place the other piece of dough on top. Cut this dough-and-chocolate sandwich into strips. To form the knots, give each strip a few twists, then spiral it around itself before tucking in the end on the bottom. Things can get a little messy here—your knots may end up covered in chocolate smears. I can tell you with confidence that no one will mind.
If you’re hoping to enjoy babka for breakfast, I recommend letting the dough do its bulk fermentation (also known as the first rise) in the refrigerator overnight. Then, in the morning, slice and shape the knots, let them rise, and bake them. While the knots are still fresh from the oven, brush them with vanilla simple syrup for a shiny, sticky finish. The syrup also helps the bread stay moist longer, so don’t be tempted to skip it. It’s best to eat these while they’re still warm from the oven, as this is when the bread will be at its softest and most pillowy. In the unlikely event that you have leftovers, store them in the freezer, not on the counter, where the bread will turn stale. When you’re ready for a babka knot, simply place it in a cold oven, turn the oven on to 350°F, and wait for the bread to warm through (five to ten minutes). Let’s be real; you’re not going to have any leftovers, are you?