

At Ken’s Artisan Bakery, we’ve been making walnut bread in various shapes and sizes since the bakery opened, from loaves to big rounds to crusty, hearty walnut rolls that people mostly buy for breakfast. We lightly roast the walnuts before adding them to the dough. The bread is delicious on its own and is sublime when toasted and slathered with butter and honey. We deliver torpedoes of our walnut bread to some restaurants who then slice it, grill it, and pair it with cheese. At my bakery, we use walnut bread for a sandwich with fromage blanc and fresh Bosc pears from Hood River. My friend Steve Jones, who owns Cheese Bar here in Portland, loves this bread paired with Oregon Blue or Caveman Blue cheese, both from Oregon’s Rogue Creamery. It’s also excellent with a smear of fresh goat cheese. This bread is always best toasted.
Directions
- Feed the levain: About 24 hours after your previous feeding of the levain, discard all but 100 grams of levain, leaving the remainder in your 6-quart tub. Add 400 grams of white flour, 100 grams of whole wheat flour, and 400 grams of water at 85°F to 90°F (29°C to 32°C) and mix by hand just until incorporated. Cover and let rest at room temperature for 6 to 8 hours before mixing the final dough.
- Roast the nuts: At least 1 hour before autolysing, preheat the oven to 400°F (205°C). Put the walnuts in an ovenproof skillet or baking pan and roast for about 12 minutes, until medium dark brown. Let cool to room temperature.
- Autolyse: Between 6 and 8 hours after feed- ing the levain, mix the 740 grams of white flour and the 60 grams of whole wheat flour by hand in a 12-quart round tub. Add the 620 grams of 90°F to 95°F (32°C to 35°C) water and mix by hand just until incorporated. Cover and let rest for 20 to 30 minutes.
- Mix the final dough: Sprinkle the 22 grams of salt and the 2 grams (½ teaspoon) of yeast evenly over the top of the dough. Put a container with about a finger’s depth of warm water on your scale so you can easily remove the levain after it’s weighed. With wet hands, transfer 360 grams of levain into the container. Transfer the weighed levain to the 12-quart dough tub, minimizing the amount of water transferred with it. Mix by hand, wetting your working hand before mixing so the dough doesn’t stick to you. Use the pincer method alternating with folding the dough to fully integrate the ingredients. The target dough temperature at the end of the mix is 77°F to 78°F (25°C to 26°C). Let the dough rest for 10 minutes, then spread the cooled walnuts over the top. Incorporate them into the dough, again using the pincer method alternating with folding until the walnuts are evenly distributed.
- Fold: This dough needs three folds. It’s easiest to apply the folds during the first 1½ to 2 hours after mixing the dough. When the dough is about 2½ times its original volume, about 5 hours after mixing, it’s ready to be divided.
- Divide: With floured hands, gently ease the dough out of the tub and onto a lightly floured work surface. With your hands still floured, pick up the dough and ease it back down onto the work surface in a somewhat even shape. Use a bit of flour to dust the area in the middle where you’ll cut the dough, then cut it into 2 equal-size pieces with a dough knife or plastic dough scraper.
- Shape: Dust 2 proofing baskets with flour. Shape each piece of dough into a medium-tight ball. Place each seam side down in its proofing basket.
- Proof: Place each basket in a nonperforated plastic bag and refrigerate overnight. The next morning, 12 to 14 hours after the loaves went into the refrigerator, they should be ready to bake, straight from the refrigerator. They don’t need to come to room temperature first.
- Preheat: At least 45 minutes prior to baking, put a rack in the middle of the oven and put 2 Dutch ovens on the rack with their lids on. Preheat the oven to 475°F (245°C). If you only have 1 Dutch oven, keep the other loaf in the refrigerator while the first loaf is baking, and bake the loaves sequen- tially, giving the Dutch oven a 5-minute reheat after removing the first loaf.
- Bake: For the next step, please be careful not to let your hands, fingers, or forearms touch the extremely hot Dutch oven. Invert the proofed loaf onto a lightly floured countertop, keeping in mind that the top of the loaf will be the side that was facing down while it was rising—the seam side. Remove the preheated Dutch oven from your kitchen oven, remove the lid, and care- fully place the loaf in the Dutch oven seam side up. Cover and bake for 30 minutes, then uncover and bake for about 20 minutes, until medium dark brown all around the loaf. Check after 15 minutes of baking uncovered in case your oven runs hot. Remove the Dutch oven and carefully tilt it to turn the loaf out. Let cool on a rack or set the loaf on its side so air can circulate around it. Let the loaf rest for at least 20 minutes before slicing.
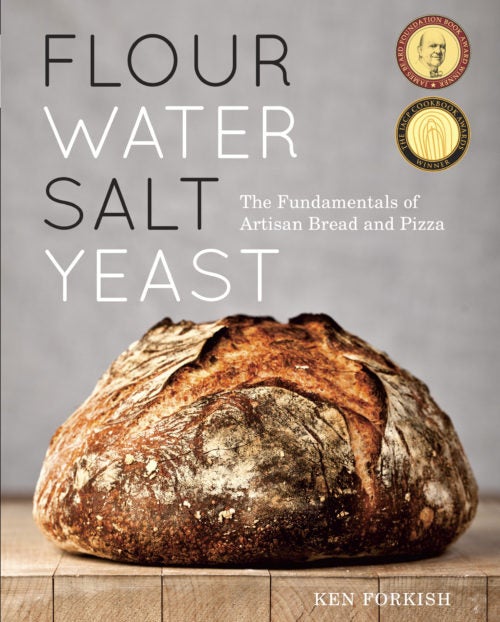
Reprinted with permission from Flour Water Salt Yeast: The Fundamentals of Artisan Bread and Pizza by Ken Forkish copyright © 2012. Photographs by Alan Weiner copyright © 2012. Published by Ten Speed Press, an imprint of Penguin Random House.

