

Most everybody’s mom made good fried chicken, but my mom made really good fried chicken. She told me that the keys were seasoning the flour as well as the chicken, and making sure the grease was hot before you put the chicken in. Every now and then, she would use my grandmother’s method—and then the chicken would go from really good to really special.
Here’s what made grandmother’s fried chicken stand out: After we flipped a hog on the pit, she’d collect the grease that would bubble up in the cavity. That grease was seasoned with all the vinegar and pepper from the barbecue sauce. She’d let the seasoned fat cool so it would become solid, like cooled bacon fat. There wouldn’t be enough to fry a whole chicken, but if you added some vegetable oil to it, you’d get a fried chicken with flavor that was out of this world.
I’ve heard that the legendary chef Edna Lewis brined her chicken in buttermilk and then fried it in lard seasoned with butter and country ham. In a way, I suppose that’s similar to my grandmother’s method of seasoning the oil. These days when I fry chicken, I don’t season the oil. But like Ms. Lewis, I do brine the bird for at least a few hours. That way you get flavor all the way to the bone. And if you wanted to add some cooled bacon fat or hog drippings to the fry oil, well, your chicken will be all the better for it.
Directions
- Mix all of the ingredients and place them in an airtight container. Cover and store in a cool dry place until ready to use.
- In a medium saucepan, bring 4 cups water to a boil. Add the rib rub and stir until fully dissolved. Transfer the mixture to a large container or pot (like a canning pot) and add 8 more cups water and 4 cups ice. Refrigerate until the brine is well chilled, then add the chicken pieces and refrigerate at least 6 and up to 8 hours.
- Remove the chicken from the refrigerator and allow it to come to room temperature. In a large bowl or brown paper bag, combine the flour, salt, and pepper. Place the chicken, a few pieces at a time, into the seasoned flour. Close the bag and shake it to thoroughly coat the chicken parts with the flour. Repeat until all of the chicken has been coated. (The chicken will still be wet from the brine. That’s okay. More coating will cling to the chicken and help to form an extra-crispy crust.)
- Set a cooling rack over a sheet pan. Pour enough oil into a large Dutch oven or cast-iron pan to fill it 3 inches and heat to between 350°F and 365°F on an instant-read thermometer.
- Working in batches to avoid crowding, add the chicken to the oil, taking care to cook pieces of a similar size so they’ll be done at the same time. Cook the chicken until the side that is submerged in the oil is golden brown, about 8 minutes for smaller pieces and 10 minutes for the larger pieces. Using a slotted spoon or a frying spider, turn the pieces over and cook until golden brown or until the thickest part of the meat reaches 165°F, another 8 to 10 minutes. Transfer the chicken to the cooling rack on the sheet pan. Cook more batches, making sure to bring the oil back up to 350°F before adding the next batch
- Serve hot or at room temperature.
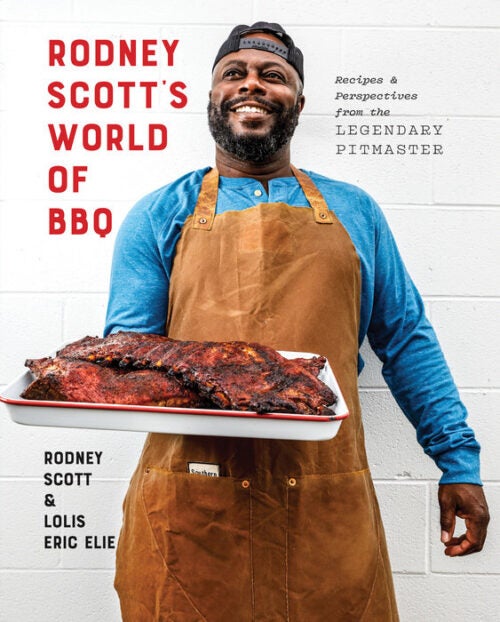
Reprinted with permission from Rodney Scott’s World of BBQ: Every Day is a Good Day by Rodney Scott and Lolis Eric Elie Copyright © 2021 by Rodney Scott’s BBQ, LLC, a South Carolina limited liability company. Photographs copyright © 2021 by Jerrelle Guy. Published by Clarkson Potter, an imprint of Penguin Random House.

