The secret to shelling beans? Buy them in bulk, then freeze, simmer, and repeat—all year long.
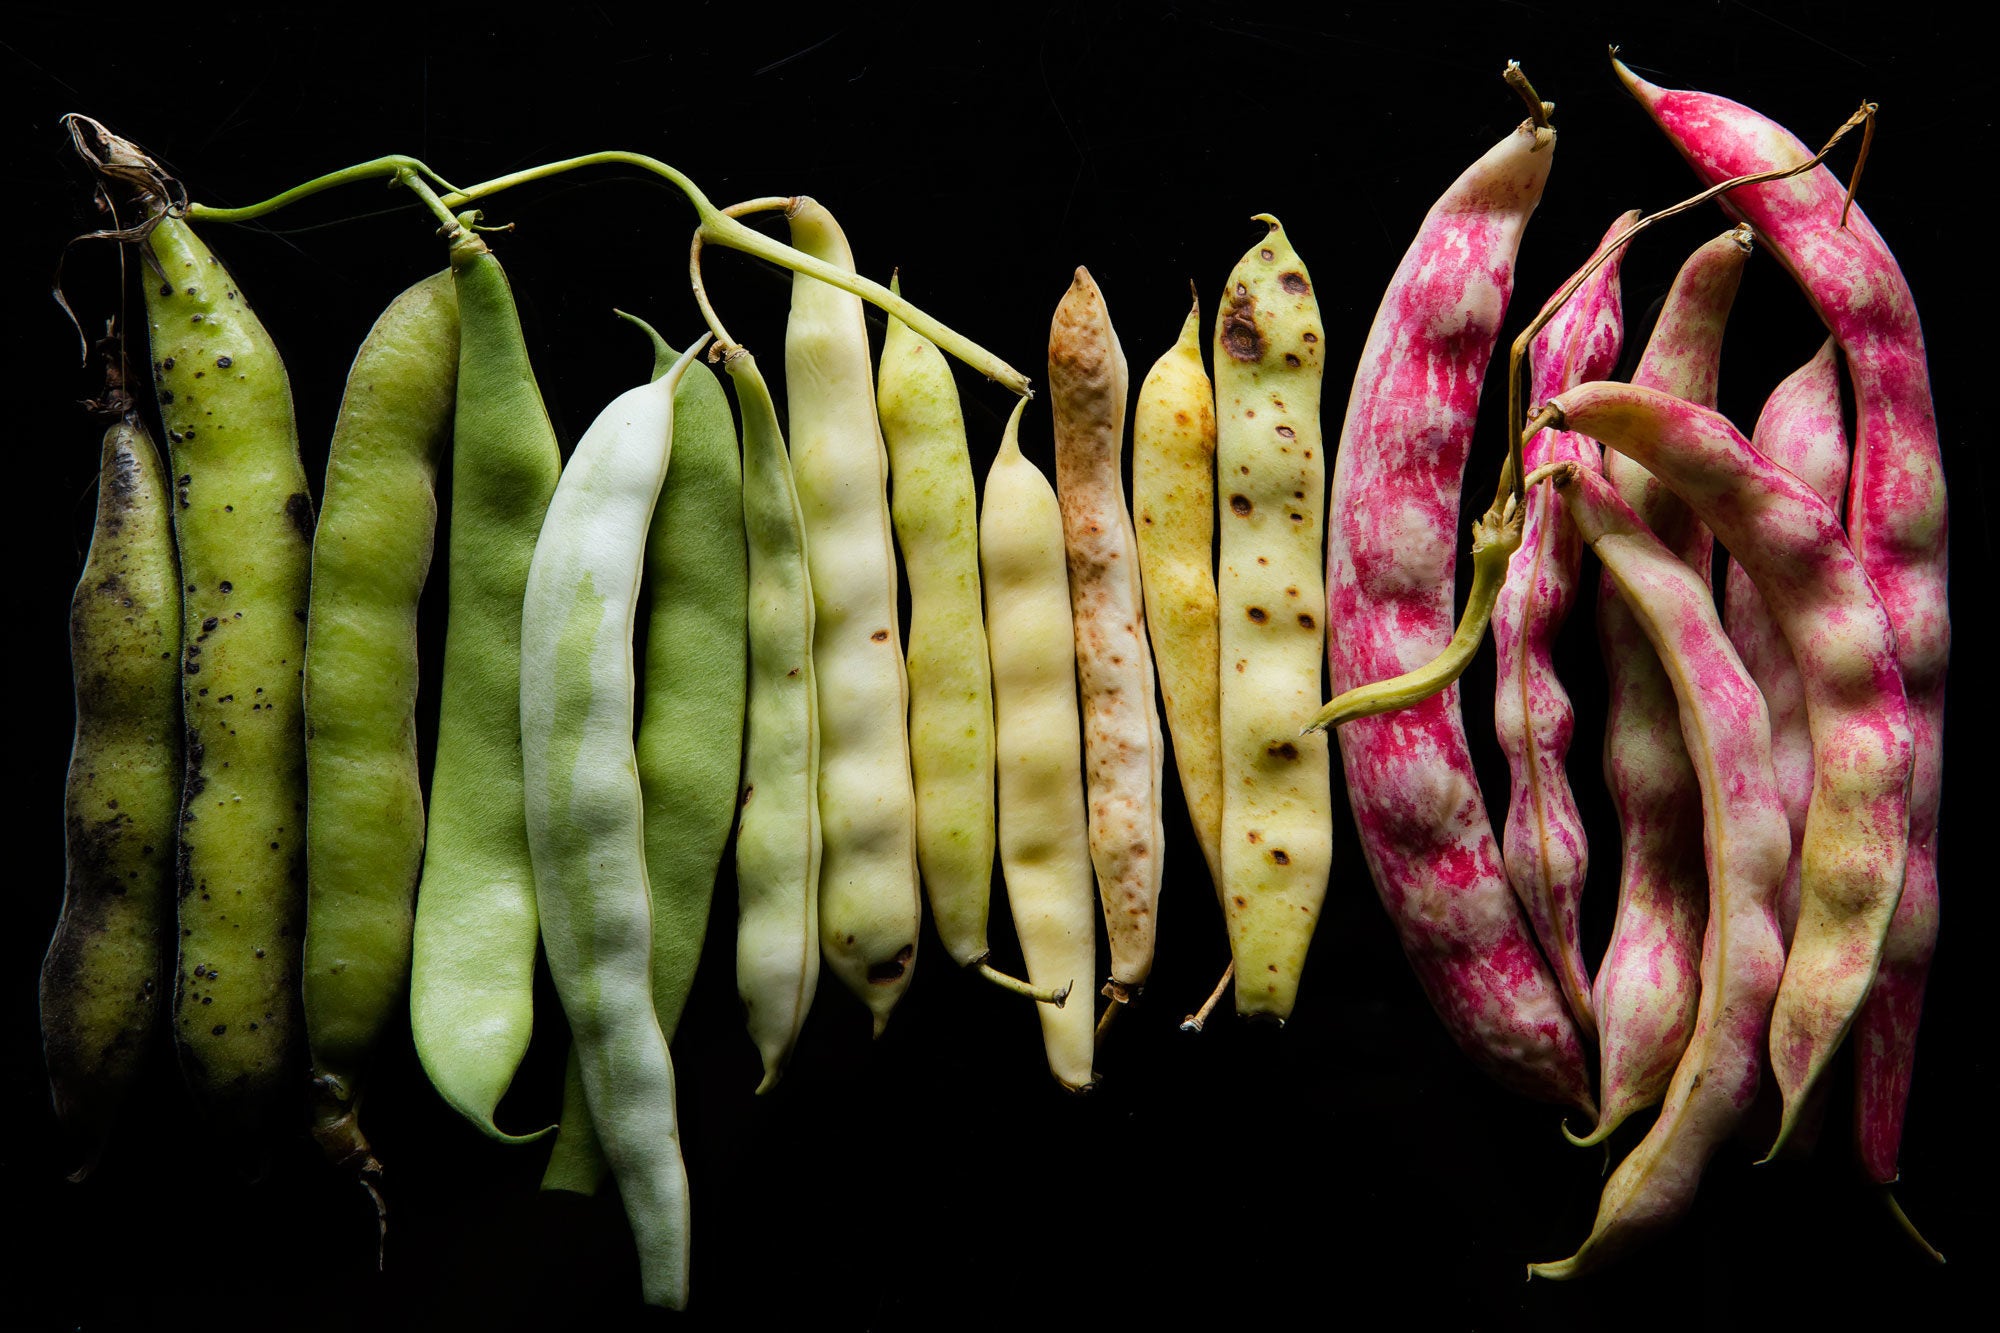
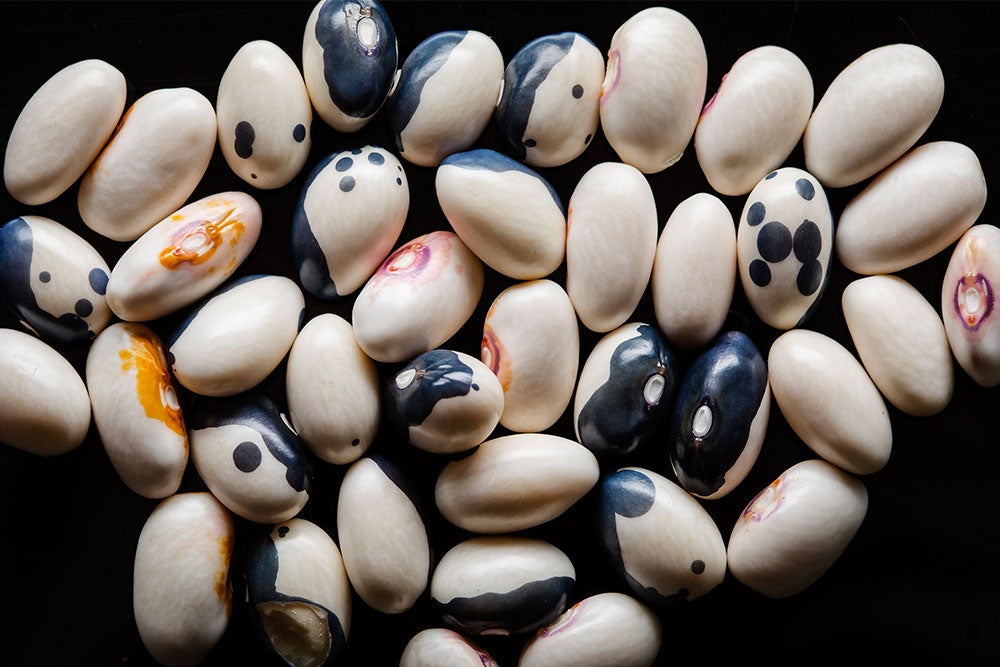
From early spring to early fall, myriad shelling beans, like English peas, fava beans, and cranberry beans, reach peak ripeness. Unlike pole and bush beans, where the whole bean is tender and edible at various stages of maturation (think: Romano, wax, and runner beans), shelling bean pods is more like unwrapping a present. Unzip their taut pods to reveal uniform rows of round and oblong beans, little pearls waiting to be eaten—a sweeter, more creamy version of the ones you’ve eaten from a can or from the freezer, and with a structure that will hold up to simmering.
Preparing shelling beans is obviously more time-consuming than opening a can or a bag, but the payoff of a sweeter, firmer bean with a short cook time is worth the finger exercise. And shelling can be fun (if you want it to be). On lazy summer days, when afternoons turn into evenings over bowls of ripe fruit and sweating drinks, task your dinner partners with popping beans from their pods before you start cooking. Simply look for a string near the seam at the top of a pod and unzip (you can use kitchen shears or a paring knife to speed this along), dumping the beans into a bowl. Typically, you can expect to get about one cup of shelled beans per pound of pods.

If you buy them in bulk at the farmers market, you can do the busywork a few days, weeks, or months ahead of time and keep the beans ready to go in the freezer. Have you watched the second season of Fleabag yet? FaceTimed with your grandma in the past year? Maybe you need a calming activity to do while you call into a work meeting. All of these important tasks can be completed while taking down pound after pound of beans—and your work will most certainly be rewarded.
Shell as many beans as your fingers can handle, then spread them out on a sheet pan and freeze solid for about an hour or two—this keeps them from sticking together in the freezer. From there, transfer the beans to a freezer-safe bag or container, and defrost whenever you’d like.
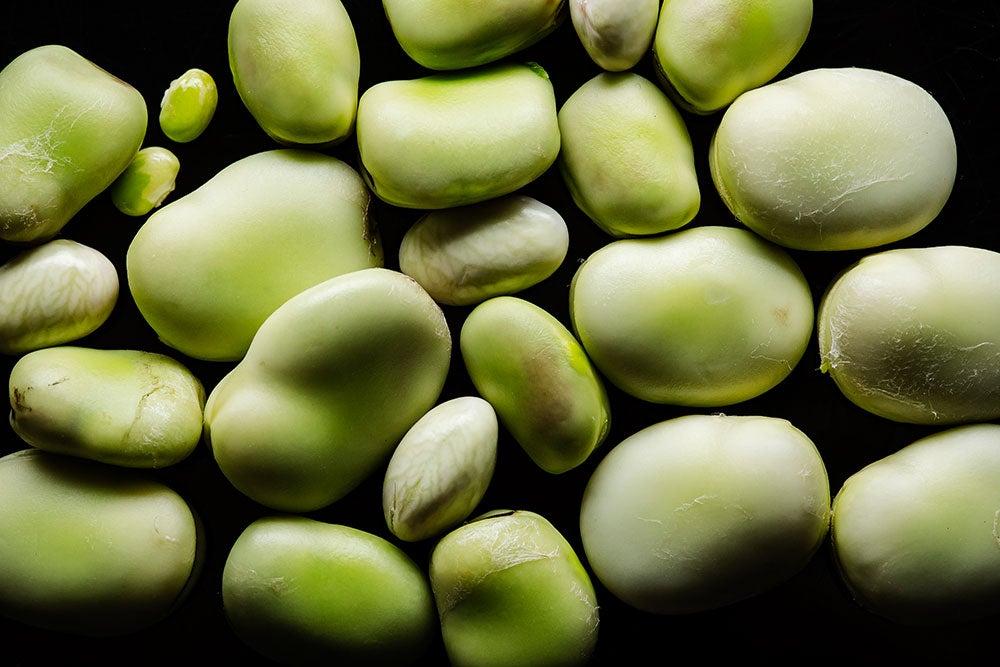
When buying favas to puree for grass-green spreads or use in hearty salads, keep an eye out for long, slender green pods (the longer the pod, the more beans inside). Avoid the really big, bulbous pods with large areas of slimy brown—a sign of overripe, mealy beans. After removing the beans from their pods, you’ll see that they’re encased in a milky-green second skin that can be a bit tough.

After shelling, just drop the beans in a pot of salted, boiling water for two minutes, shock them in some ice water, and the second skin will peel right off, revealing a shiny lime-green bean. If you’re planning to freeze favas, make things easier for your future self by first shelling, blanching, and second-skinning the beans.
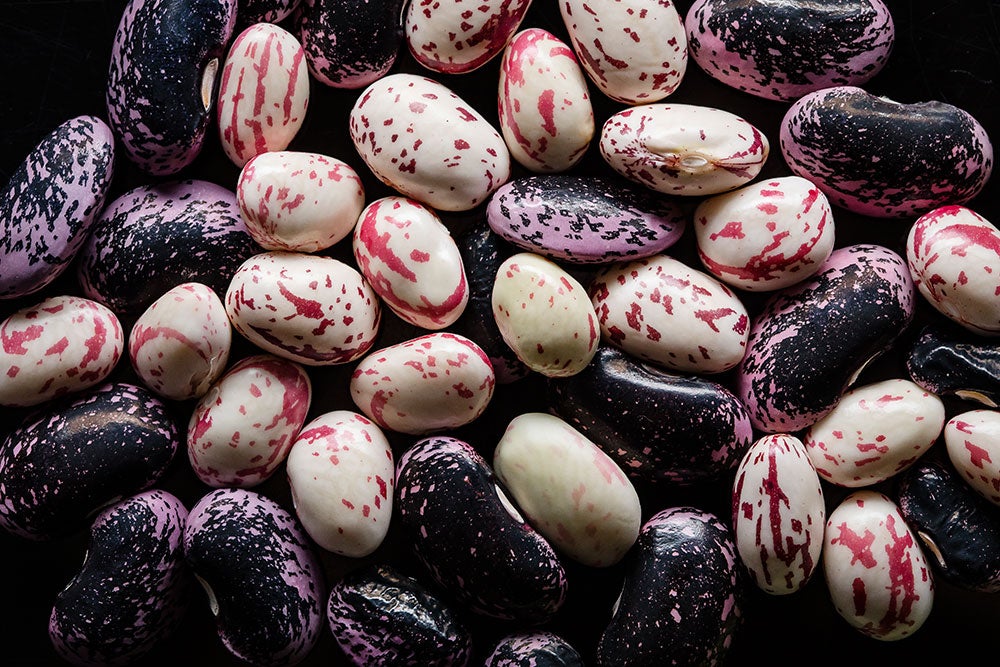
Even more versatile are cranberry beans (also known as borlotti beans), which you’ll spot from a mile away with their greenish white pods, rippled with (you guessed it) cranberry-colored veins. Flavor-wise, they’re a bit sweeter and more subtle than your average pinto bean, unlike fava beans and English peas, which have more robust, bean-y flavors. When you want to round out a dish with creamy starchiness as opposed to crunch and pop, go cranberry. Look for slightly wrinkled pods that feel a bit damp, avoiding any that seem brown or slimy. Fresh cranberry beans still need to be cooked, but it will take significantly less time than dry beans—about 25 minutes or so.

When it comes to cooking cranberry beans, regardless of how you’re planning to serve them, the most important element is seasoning the cooking liquid. You can go simple, with just well-salted water, or have a bit of fun by using more aromatics to impart bigger flavor. I like to char onion and garlic (maybe a lemon and a hot pepper as well) in a bit of olive oil in a large Dutch oven to start, then add the beans along with fresh herbs.
From there, just cover the beans with a few inches of stock or water, stir in a big handful of salt (that liquid has got to be salty if you want the beans to absorb any of it), and boil until soft. The beautiful red ripples will melt away in the cooking process, but you’ll still end up with a tender, creamy bean that holds its shape after cooking and makes you glad you filled your freezer.