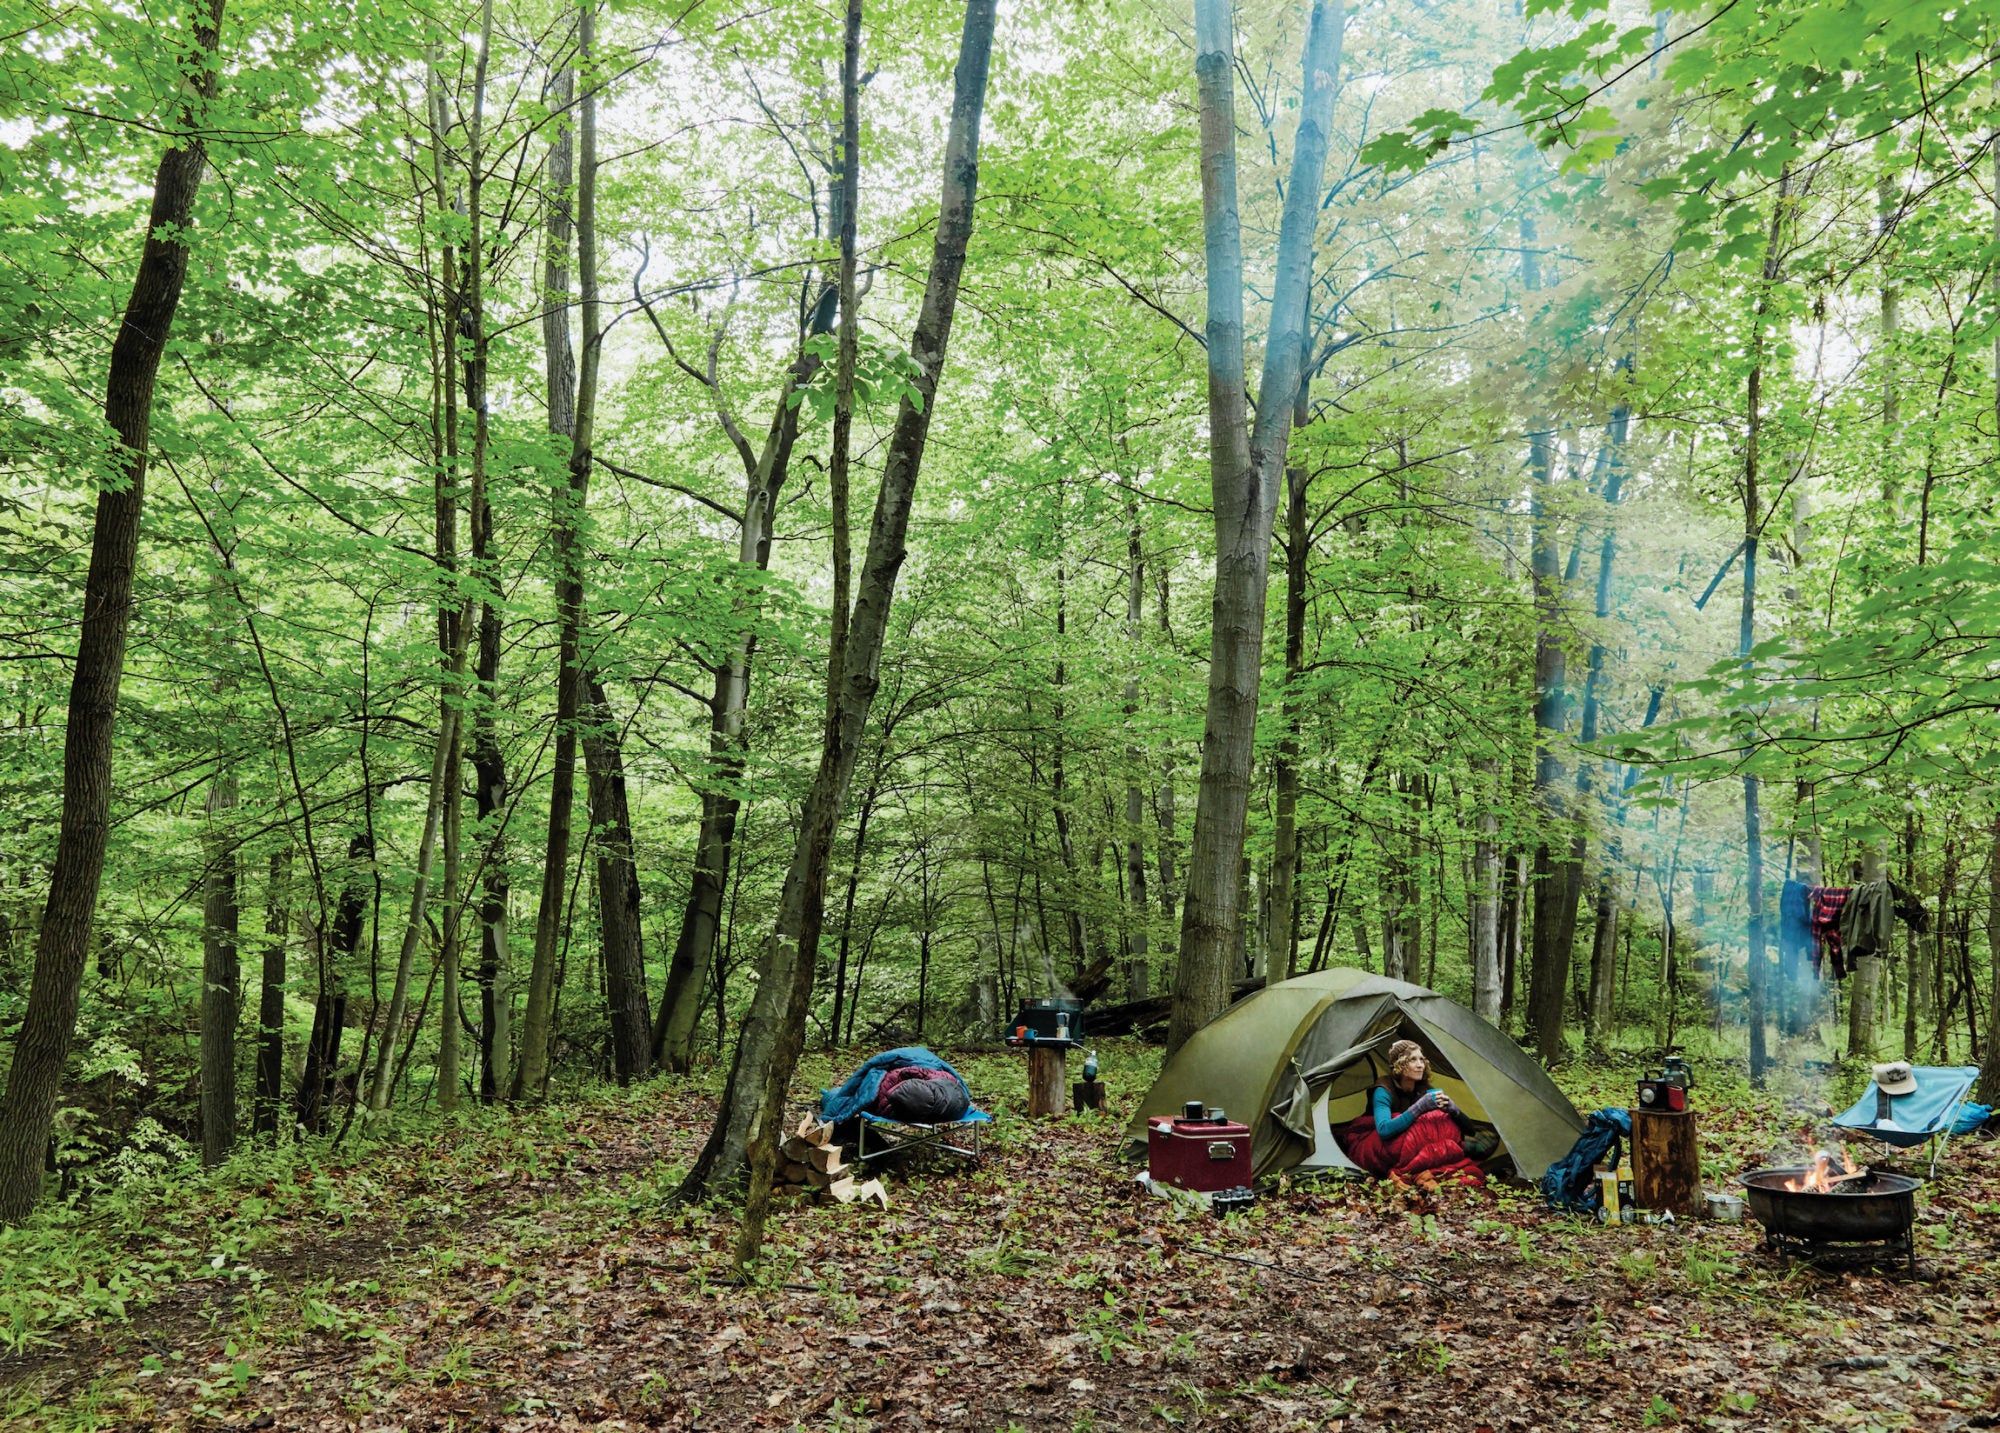
Creating your own makeshift kitchen outside is one of the most compelling parts of camping.
Camping has always appealed to me, not so much because of the idea of going to sleep under the stars, or bravely fending off packs of adolescent black bears in search of snacks. It’s more about the eating component, where I channel every survivalist skill I learned from reading Hatchet and The Boxcar Children in elementary school to create a workable kitchen in the wilderness. Reveling in my own self-sufficiency as I build a fire to pop some popcorn. Sipping coffee out of a rustic enamel cup next to a running creek in the morning.
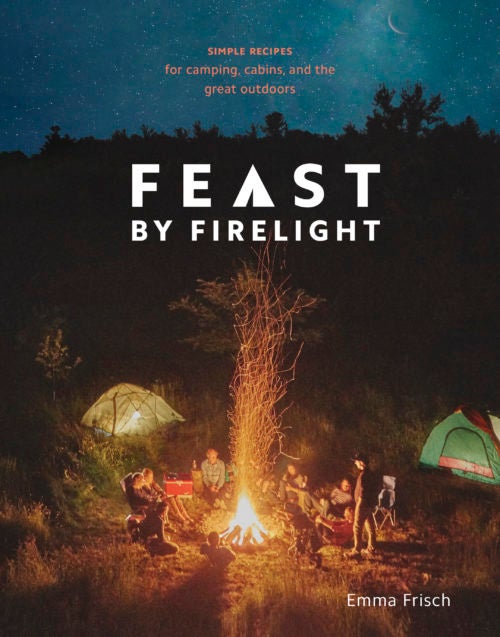
“When you’re responsible for creating your own shelter and makeshift kitchen, and put in the hard work to do so, you reinforce your ability to survive in the wild,” says Emma Frisch, the author of the new cookbook Feast by Firelight. “It’s redeeming and feels good!” Frisch is the cofounder of Firelight Camps, a self-identifying “glamping” spot on the precipice of Buttermilk State Park in Ithaca, New York. In her book, Frisch combines some of the scrappier, more inventive parts of camping (did you know you can use a small pebble to whip cream?) with some of the more cushy parts of cooking in your own home.

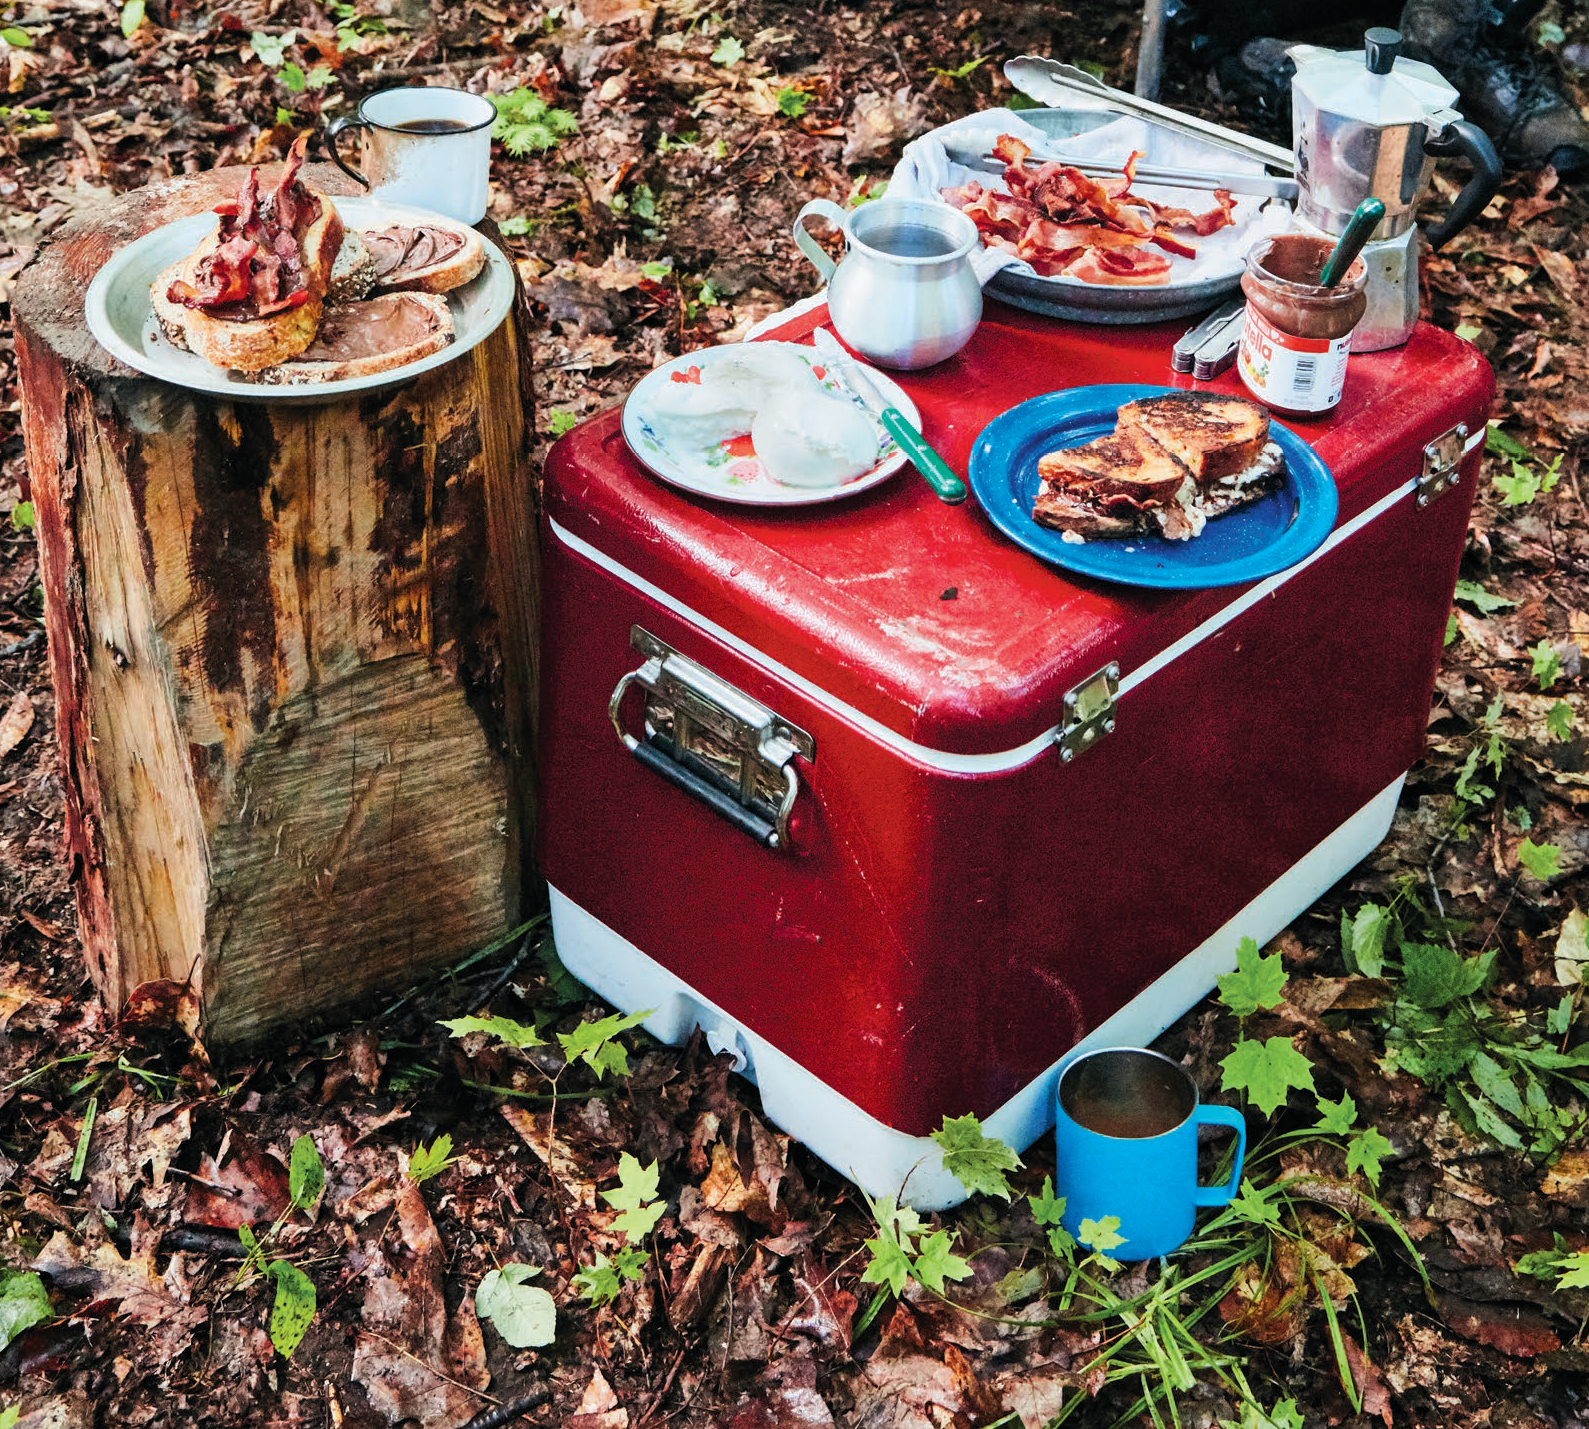
In the book, you’re encouraged to eat apple crisp and sip Bloody Marys—nary a hot dog or can of beans in sight. For Frisch, this type of cooking is less about elevating or complicating food, and more about returning to the roots of camp food and the roots of living from the earth, whether it’s cooking a trout you caught that day or turning fresh cherries into dessert with cream and crushed graham crackers. “I actually think most traditional camp foods have ‘real food’ roots, and that modern, processed food has come to redefine it only recently,” she says.
For Frisch, food is a big part of the draw of camping. And with a little bit of legwork, before you pack up your coolers and head into the woods, you can eat pretty well. Chances are, you’re probably not going to be hauling your whole pantry along with you for the trip, but by doing a little prep beforehand and making some careful selections, you can be prepared to tweak the flavors of salads, grilled meats, and even baked goods. Frisch likes to keep za’atar, olive oil, salt, pepper, and honey at hand whenever possible for seasoning on the fly.
For Frisch, who struggled with the word “glamping” when she and her husband first started the business, there are upsides and downsides to this cushier version of the great outdoors. “I am a gear-head, and I miss the process of meticulously packing everything for a DIY camping trip, especially for backcountry camping,” she says. “I believe there is absolutely a time and place for both. For example, with our two-year-old and another baby on the way in September, glamping is a lot more appealing!”
Ingredients
- 2 slices bread
- 2 tablespoons unsalted butter
- 2 eggs
- 1 avocado
- 1 teaspoon honey
- 1 teaspoon red pepper flakes (optional)
- Kosher salt and freshly ground black pepper
Emma Frisch shares campground-friendly cooking techniques and recipes in Feast by Firelight.
Bird in a Nest (also known as Toad in the Hole or Spit in the Eye) rallies my inner child, hands waving in the air and squealing, “Eggs and toast!” I would always beg for the most over-easy egg so I could dunk my cut-out circle of toast into a sunny pool of yolk (which became a brighter yellow after my mom introduced chickens to our backyard). This classic egg dish is one of the easiest to make at camp while still feeling special and hearty. Fresh slices of avocado and a drizzle of honey dress it up just a bit. I find that rustic sourdough or whole-grain bread stands up best to a runny egg. The easiest way to cut circles in your bread is with a narrow-mouth jar, cup, or cookie cutter 2 1⁄2 to 3 inches in diameter.
- Press the mouth of a narrow-mouth
jar, cup, or cookie
cutter into the center of each slice of bread, cutting out
a hole.
- In a 10-inch
cast-iron
skillet or sauté pan over medium
heat, melt 1 tablespoon of the butter. When the butter
begins to foam (before it browns!), add a bread slice and
cutout circle in the pan.
- Crack an egg into the bread hole. Cook, uncovered, until
the underside of the bread is golden brown and the
egg is set, 1 to 2 minutes. Using a spatula, flip the bread
and egg and repeat on the other side. When the egg and
toast (including the cut-out) are cooked to the desired
consistency, transfer to a camper’s plate. Repeat with the
remaining bread slice, butter, and egg.
- Halve the avocado and remove the pit. Slice the avocado
halves in their shell, and scoop out with a fork or spoon,
fanning the slices over the surface of the egg and toast.
Drizzle the honey evenly over the avocado and sprinkle
with the red pepper flakes (if using) and salt and pepper.
- Serve immediately. Leftovers won’t keep well, so eat up!
Ingredients
- 1 10-to 12-ounce whole rainbow or other trout, scaled and cleaned
- ¼ cups plus 2 tablespoons olive oil
- Kosher salt
- 10 turns of the pepper mill
- 1 lemon, thinly sliced
- 1 tablespoon tablespoon finely chopped fresh parsley
- 8-10 radishes with greens attached
- 2 large garlic cloves, thinly sliced lengthwise
Emma Frisch shares campground-friendly cooking techniques and recipes in Feast by Firelight.
On the morning of my first family fishing trip in the Italian Dolomites, my uncle took my twin sister and me with him on a 10-mile bike ride to the mountain lake while the rest of the family went by car. We straggled in at the end of the day, with him carrying our bikes over his shoulder. My mom was so relieved to see us! We had been so excited to fish that she helped us cast a few lines right away, and we each caught a trout to add to the cooler my little siblings had nearly filled. Back at the cabin, my mom cleaned and then seared the fish in a skillet with olive oil, serving them alongside a giant bowl of spaghetti. We were young, but because we helped catch the fish, we could all recognize that the trout were both a sacrifice and a gift to our table.
Although not a common practice in the United States, eating fish whole is widely enjoyed around the world. A whole fish is half the price of prepared fillets and more flavorful. The “cheek” of the fish is especially silky and tender, and not to be missed! When buying whole fish, ask your fishmonger to scale and clean it for you. Before serving, either consult an article or video on “how to fillet (or carve) and serve whole fish” or prepare to pick at the fish with a fork, dodging the bones.
Prep
- Pat the fish dry from head to tail with paper towels.
Using your hands, coat each side with 1 1⁄2 teaspoons
of the olive oil and 1⁄2 teaspoon salt. Sprinkle both sides
with the pepper.
- Insert the lemon slices and parsley into the cavity of the fish
and sprinkle with a pinch of salt. Place the fish in a ziplock
bag. To prevent the lemons and parsley from falling out of
the cavity, wrap the bag around the fish and hold it in place
with a rubber band or masking tape and then chill for up to
24 hours.
- Wash the radishes and greens in a colander to remove any
grit and then pat dry with a tea towel. In a ziplock bag,
combine the radishes, garlic, 1⁄4 cup olive oil, and 1⁄2 teaspoon
salt. Seal the bag, use your hands to evenly coat the radishes
and greens with the oil, and then chill for 24 hours.
Cook
- In a 12-inch
cast-iron
skillet over medium heat, warm the
remaining 1 tablespoon olive oil. When the oil is hot, place
the trout in the center of the pan. (If the trout is too long
for the pan, you can bend it to fit or cut off the tail section
and place it alongside the body.) Arrange the radishes,
their greens, and garlic around the edges, tossing to coat
with the oil. Cook the fish, while tossing the radishes
frequently with tongs, until the first side is brown and
crispy, about 2 minutes. The radish leaves will begin to
char, the radishes will pale in color, and the garlic will
begin to brown. Use a metal spatula to flip the fish, being
sure to scrape from the bottom of the pan so the crispy
skin stays intact!
- Cook until the other side is brown and crispy, about
2 minutes more, then flip the fish again and turn off the
heat. Let the fish rest in the hot pan for 3 minutes more
and continue tossing the radishes. Use a thermometer
to check that the internal temperature of the thickest
part of the flesh is 140°F, or that the flesh easily flakes
apart with a fork.
- Serve warm directly from the pan (be sure to warn your
fellow campers that the pan is hot!) or transfer to a cutting
board to carve the fish. Store leftovers in an airtight
container or ziplock bag, chilled, for up to 3 days.
Ingredients
- 4 thick slices stale bread, broken into popcorn-size crumbs
- 4 tablespoons unsalted butter, cut into slices
- ½ cups firmly packed light brown sugar
- ¼ cups honey
- 1 teaspoon finely grated fresh ginger
- 1 tablespoon freshly squeezed lemon juice
- 8 whole farm-fresh stone fruit (such as peaches, apricots, nectarines, or plums)
- ½ cups heavy cream (optional)
Emma Frisch shares campground-friendly cooking techniques and recipes in Feast by Firelight.
One summer in Venice, Italy, I was chased out of a market stall for prodding a peach. The red-faced owner scolded, “Would I sell fruit that isn’t ripe?!” I was mortified and ran to my mom. She explained that you could choose a ripe peach just by looking for slight depressions, often mistaken for bruising, and that stone fruit in general smelled sweet when ripe. You will need perfectly ripe stone fruit for this recipe, which takes the exquisite experience of eating it fresh to new heights when grilled. This recipe is even easier if you want to bypass the honey-ginger syrup, though I wouldn’t recommend skipping the bread crumble. My friend Stefan, owner of Wide Awake Bakery in Ithaca, New York, first introduced me to bread crumble. He said it was so good and so different from anything he had ever tried that he had to make a new category for it in his brain. Bread crumble is made from stale, or “aged,” bread that’s hardened over a couple days; it’s broken into small pieces and caramelized with butter and sugar. Not only is it a resourceful way to use bread that’s hardened, but it has the same addictive quality of popcorn. Drizzle fresh cream over your dessert; just don’t faint when you take a bite.
Prep
- To make the bread crumble: In a 12-inch
cast-iron
skillet
or frying pan over medium heat, toast the bread crumbs,
pushing them around with a wooden spoon, until they begin
to brown, about 10 minutes. Turn the heat to medium-low,
add the butter and brown sugar, and stir until the crumbs are
coated in the melted butter and darkening sugar. Be careful
not to let them burn, but don’t be afraid of a deep, caramel-colored
butter—the
flavor will get more complex as it cooks.
When the crumbs have reached a color you like, anywhere
from almond brown to dark caramel, between 12 to 20 minutes,
transfer to a bowl. They will be very hot. Let cool completely
and harden. Store in an airtight container or ziplock bag at
room temperature for up to 3 days, chill for up to 1 week, or
freeze for up to 3 months.
- In a small pot over medium heat, combine the honey and
ginger. Cook until the honey turns to a liquid consistency
and then simmer for 5 minutes more. Remove from the heat,
whisk in the lemon juice, and let cool. Store in a lidded jar,
chilled, for up to 1 week.
Cook
- Fire the grill to medium heat and position the grill grate
4 inches above the coals.
- Slice the fruit into wedges around the vertical circumference,
from stem to tail. Twist each half in opposite
directions to open. Remove and compost the pit. If a
fruit is too ripe to twist, just remove smaller sections
at a time, though you’ll have to be extra careful when
grilling to make sure they don’t fall through the grate.
Transfer to a large bowl (or even a pot), baking sheet,
or plate and toss the fruit with the honey syrup.
- Using tongs, place the fruit flesh-side
down on the grill
and cook until the flesh is scored with grill marks and
charred, about 5 minutes. Flip and grill on the skin side
until charred, about 5 minutes more. The longer you
grill the fruit, the softer it will become—decide
what
you prefer!
- Distribute the grilled fruit into each camper’s bowl,
drizzle with heavy cream, if desired, and sprinkle the
bread crumble over the top. Eat up! This is too good
to keep leftovers.